
 In January we got the opportunity to go visit a green screen room here in Luxembourg. It was a good opportunity because it allowed us to get some more footage and re-shoot some scenes with our black balloons, which we felt we had missed the opportunity on when filming our initial music video Follow You at the beginning of the year. We tried to film the black balloons from as many angles as possible, however the low angle long shot and the medium long shot on the left turned out to be the best ones and so we will be using them.
 Now after having filmed all of our green screen footage, we have been trying to work on what to layer it with etc. This was my first time in working with green screen and so I had to find out all the basic tools from tutorials on YouTube and also learned a lot from my teacher and a fellow classmate.
From the beginning onwards, we had the idea that we wanted a lot of smoke, fire and color powder in our music video. These should be the main elements. When trying to work with the first green screen footage of our leadsinger Wayne, I tried to use a fire effect from YouTube, since Final Cut Pro X does not have one. I found an effect of fire and a burning car in the background, which I then tried to use.
First step before doing anything, is to remove the actual green screen by giving it a black background. This is done by using the special effect called "Keyer" in Final Cut Pro X. After that, I put the footage of the burning car and fire over that footage and it looked like the footage above. What I then did was changing the opacity of the shot, which is possible under the word "Compositing".

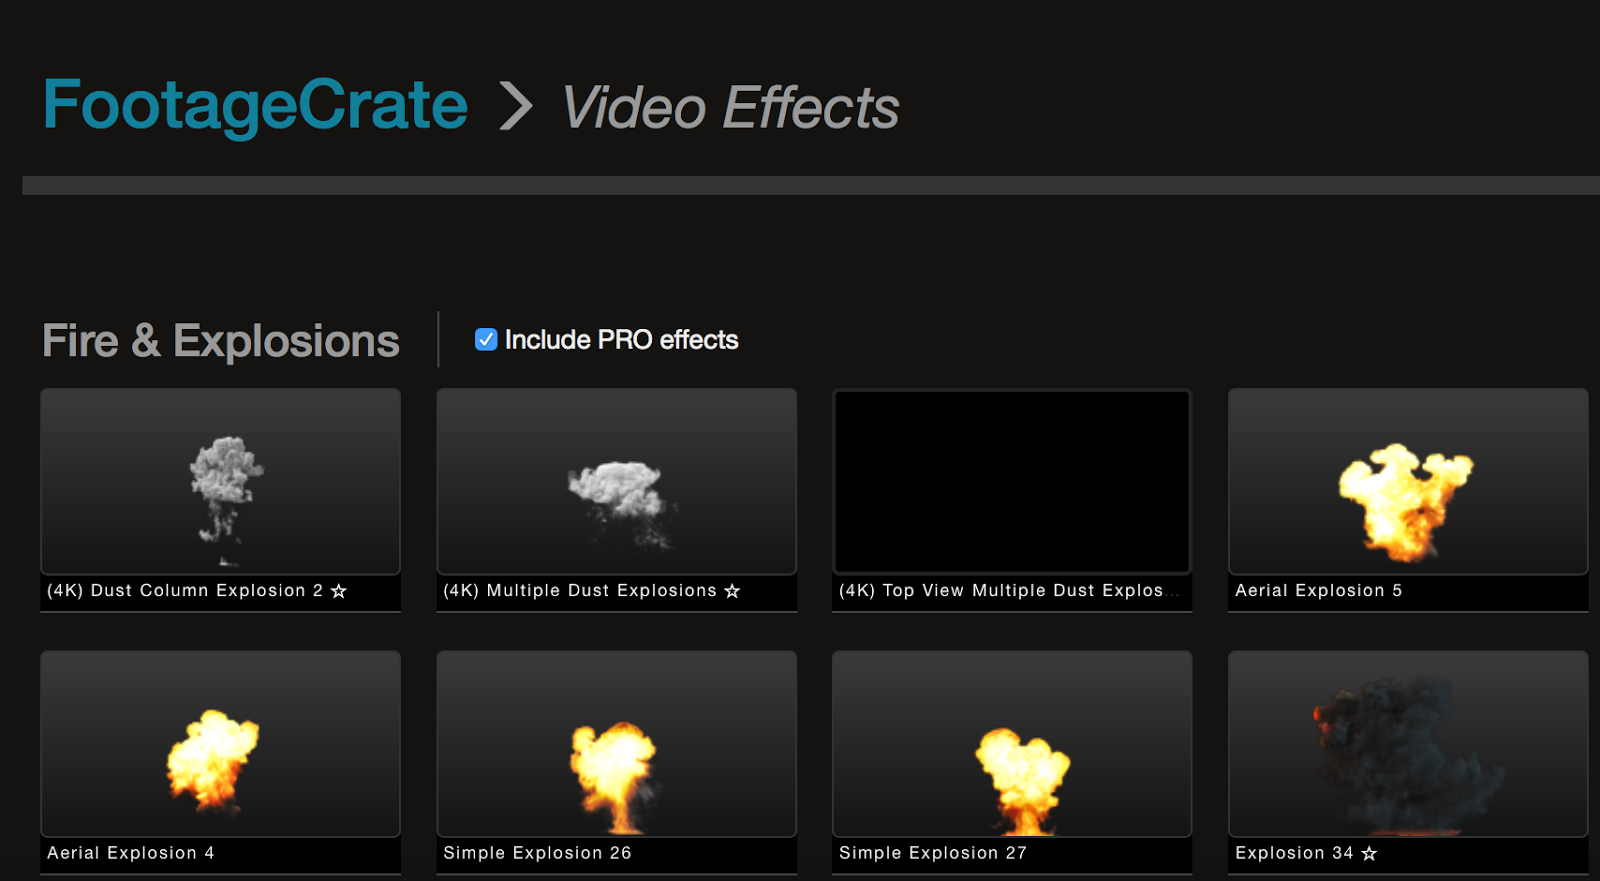
 However, the shot didn't look the way we wanted it to and therefore, I watched a YouTube Tutorial about how to layer fire onto green screen. From that YouTuber, I got the link to a page called Footage Crate, that allows you to green screen. Here is the link.
It allowed me to register and download many different special effects that I can use to layer onto the green screen. It especially had loads of fire and explosion effects.
We will however also be using some special effects that we found on YouTube.

 However, the shot didn't look the way we wanted it to and therefore, I watched a YouTube Tutorial about how to layer fire onto green screen. From that YouTuber, I got the link to a page called Footage Crate, that allows you to green screen. Here is the link.
 It allowed me to register and download many different special effects that I can use to layer onto the green screen. It especially had loads of fire and explosion effects.
We will however also be using some special effects that we found on YouTube.


